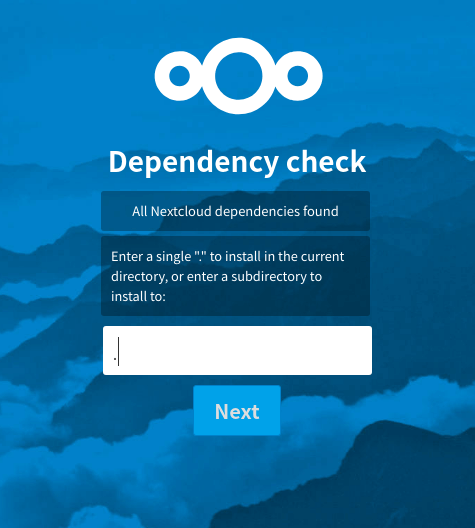
The Web Installer is the easiest way to install Nextcloud on a web space. It checks the dependencies, downloads Nextcloud from the official server, unpacks it with the right permissions and the right user account. Finally, you will be redirected to the Nextcloud installer.
Right-click here and save the file to your computer
Upload setup-nextcloud.php to your web space
Point your web browser to setup-nextcloud.php on your webspace
Follow the instructions and configure Nextcloud
Login to your newly created Nextcloud instance!
You can find further instructions in the Nextcloud Admin Manual.Note that the installer uses the same Nextcloud version as available for the built in updater in Nextcloud. After a major release it can take up to a month before it becomes available through the web installer and the updater. This is done to spread the deployment of new major releases out over time.
1.setup-nextcloud.phpの設置
NexeCloudがsetup-nextcloud.phpという便利なものを用意してくれているのでサクっと使ってしまいましょう。
ssh使うか、ブラウザでsetup-nextcloud.phpをダウンロードしてConoHaのファイルマネージャーからpublic_html/domainフォルダにアップロードします。
$ cd publich_html/xxxxxx
$ wget https://download.nextcloud.com/server/installer/setup-nextcloud.php
2.setup-nextcloud.phpにアクセスして指示に従う。
setup-nextcloud.phpの設置後に設置場所にアクセスします。https://domain.xxx/setup-nextcloud.phpのような感じで。
MySQLのデータベースはConoHa WINGの管理画面から作成出来るものを使っておけば問題ないでしょう。

非常に簡単ですね!!
やり方次第ではSSHを用いらずに導入できるので、CLIアレルギーの方も安心!
200GBの容量を何とか活用できそうです。