最近、2020年6月30日に日本の大規模なmastodonインスタンス mstdn.jp と mastodon.cloud が閉鎖される事が発表されました。
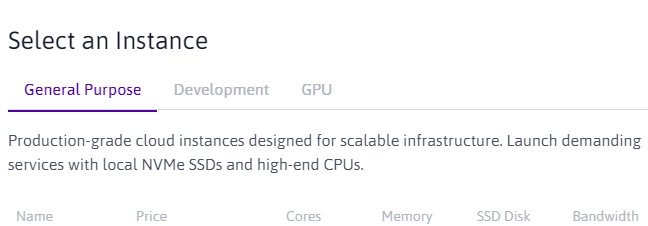
そこで今回はOracle Cloud Free TierのOracle Cloud Infrastructure Compute VMを使って無料でmastodonインスタンスを建ててみようと思います。GCEのf1-micro一つでも快適さ度外視すれば動くらしいので、お一人様インスタンスでしたらこのOracleのVM使えばなんとか動くのではないでしょうか。知りませんけど
必ず公式のガイドMastodon - Installing from sourceを確認しながら作業を行なってください。
追記:
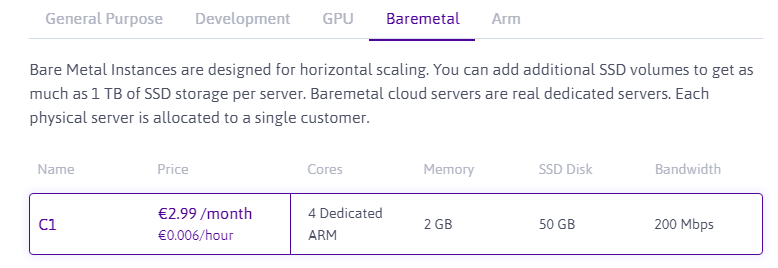
2021年6月頃に「VM.Standard.A1.Flex」が4vCPU, RAM24GBまで無料になりました。
このシェイプを使うとチューニング無しで非常に人権のあるお一人様インスタンスを作れるので、おすすめです。